WARNING: This post has a lot of pictures!
I’ve been meaning to write this up for a while, but I’ve been lazy/busy. As some may know, I relocated with my family from Nashville to Kentucky when my wife accepted her new position. As a consultant, I have the freedom to live and work from anywhere, so moving to improve my wife’s career was no big deal. Fortunately, a new home offers the chance to correct oversights on the last one. One of the first things I did was take the plans and determine how I wanted my network to look. I knew I wanted a collapsed core with access layer devices on each floor. I started by estimating how many wired connections per floor I would want. After this, I segmented those out to determine how many needed POE. The biggest thing was ensuring I left room for growth.
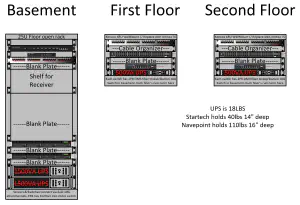
A couple things that took some time was finding the appropriate racks that could support the weight, depth, and location I wanted to mount them. I also needed to ensure I purchased something quality-made to avoid having everything fall off the wall. I went through quite a few to determine what would support my needs before deciding on StarTech 6U Wallmount Rack for the 1st and second floor and the Raising Electronics 4post 27U rack for the basement.
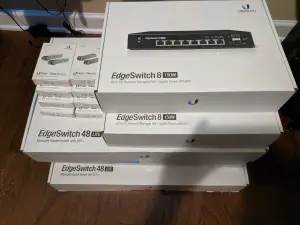
Once I settled on what I wanted to rack things in, I needed to purchase the gear. I went with Ubiquiti Edgeswitches, the core being a 10Gb and each floor getting an 8port POE and a 48 port (mostly for the 10GB uplinks).
From a planning perspective, each floor’s cabling goes to that floor’s access layer switch. That switch is then connected via OM3 MM fiber to the core switch. The 48ports are 2x10GB port channels and the 8ports are 2x1GB port channels.
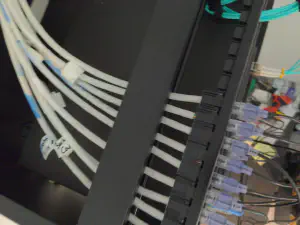
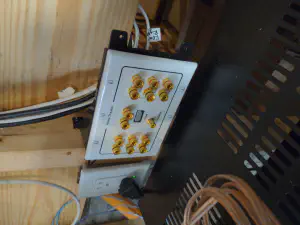
For the cabling, I hired a local company we got the spools of OM3 fiber and conduit run with room to grow. I requested that the cat6a be run on the opposite side of the studs from the power and the fiber could be near the power to avoid interference. I also had the surround sound speaker cabling goto the basement so I can put the receiver in the rack.
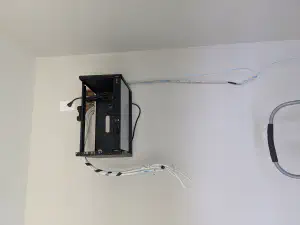
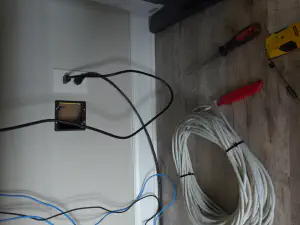
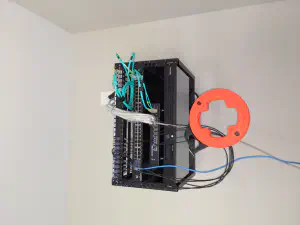
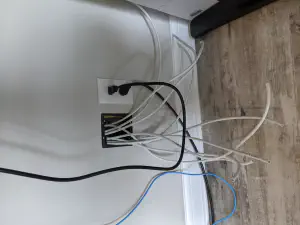
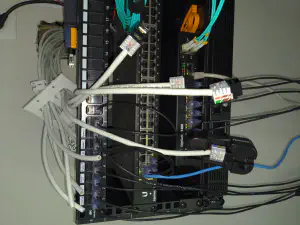
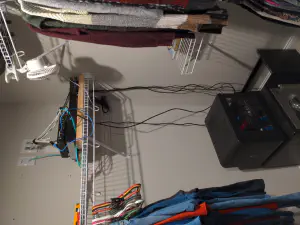
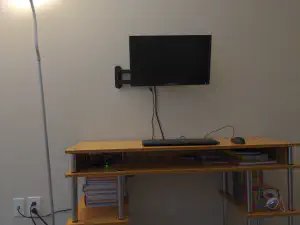
The first thing I did was put the office/1st floor rack up, it’s in my work office, so I wanted to ensure it was perfect. It took some revisions and extra work which is covered below, but I think the final result looks nice. Note: the final image takes place after the desk build and extra 10 drops covered below.

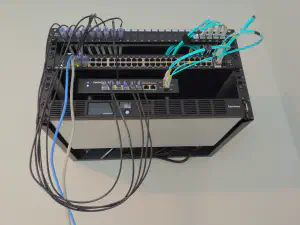

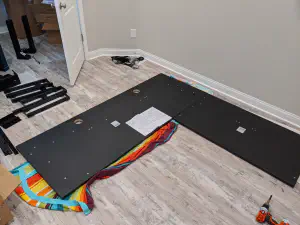
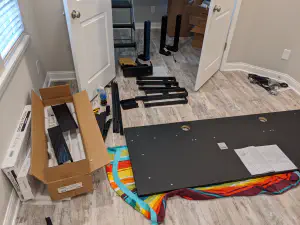
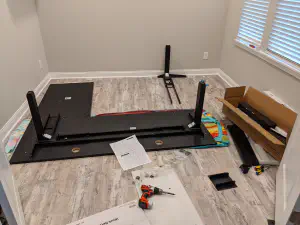
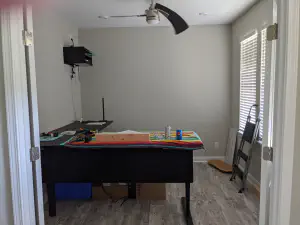
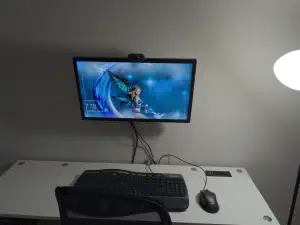
I’ll toss this in because it was fun, but I decided since I sit on my ass all day, I wanted a sit/stand desk. I went with uplift desks after some research. I thought it turned out pretty nice, it’s got a screen to make adjustments so I can just press 1 for my preferred sit height, 2 for my preferred stand height, and 3 for the height I like when i full recline my chair and kick my feet up to.. work.. hard..

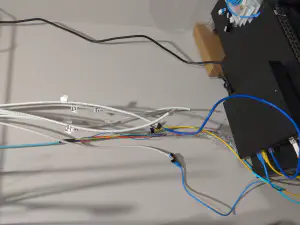
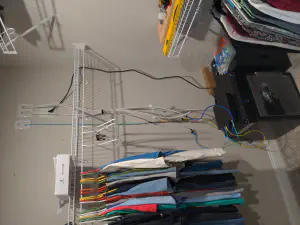
As you probably noticed in the previous gallery’s final image is my cabling just hanging from the rack, I found later that the cabling vendor didn’t run my 10 drops in the office from the ceiling where the rack will be to the floor, I had to do this myself. (they also messed up a ton of other stuff, but due to covid and the owner cancelling every walk-through, I wasn’t able to verify before drywall went up)

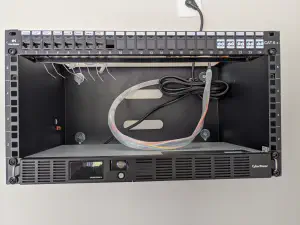
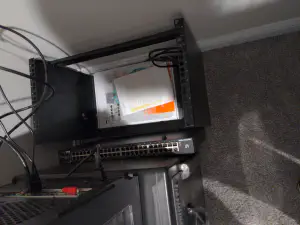
With the office completed for now (we will return later to tidy things) I moved into the master closet for the upstairs rack. Sadly, the builder didn’t space the studs 16″ apart for some reason and my cable vendor messed up placement for cables, so the rack didn’t fit how I planned. I still have not resolved this. I can’t seem to find the final photo, so I will add it later, but most of this is up on the shelf rather than on the safe now.
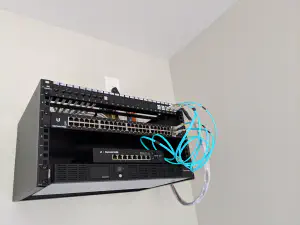
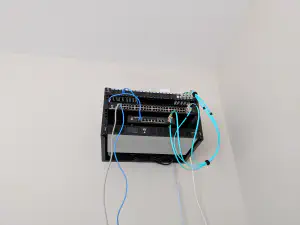
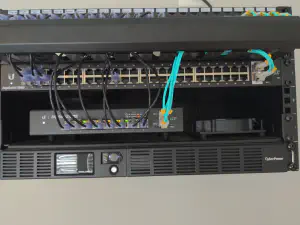
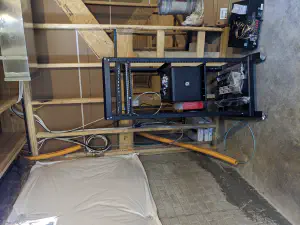
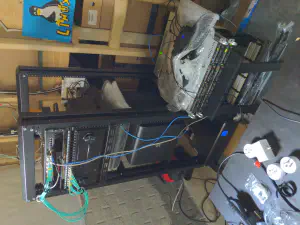
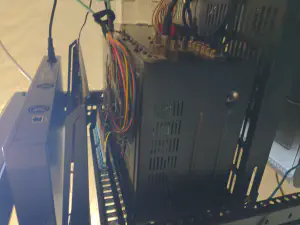
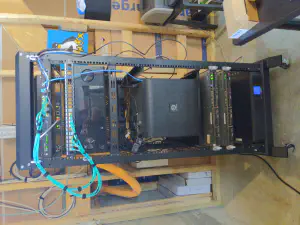
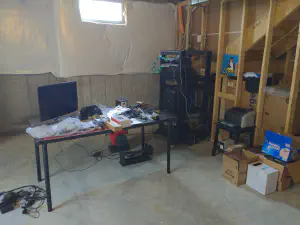
Moving into the basement where my AT&T Uverse connection comes in and connects to the Ubiquiti ERL3 and into the 16-XG, here is how this all came to be. To specifically address my connectivity, I have fiber into the ATT ONT, from the ONT it goes directly to my ERL3, then to my core switch. There is no involvement of the AT&T RG (router combo unit). For more info, check AT&T Uverse RG Bypass

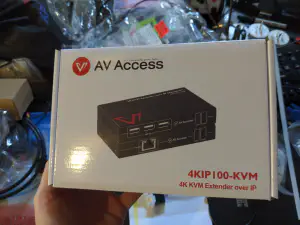
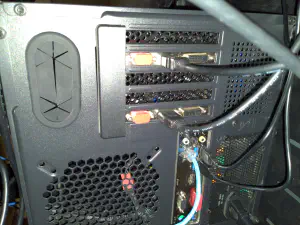
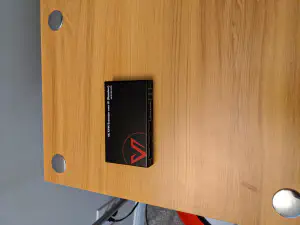
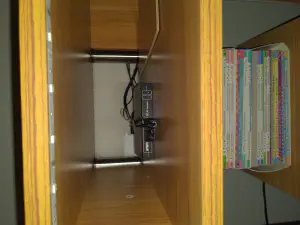
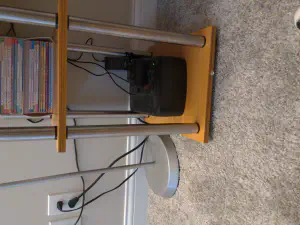
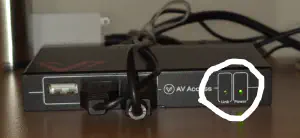
The next things to do were to give my older kids computers in their room. Their systems used to be in the office with me, but my new office was a bit smaller and couldn’t handle that. If you’re familiar with my PC for my kids update you know that they use virtual machines running on Linux KVM. I wanted their server in the basement and basically give them thin clients in their rooms. This would cut down on noise and heat. To achieve this, I used KVM over ethernet modules from AV Access. The particular ones I selected supported working over switches. I don’t have the pictures, but I did run into some issues. These units rely on multicast and it’s poorly documented. If i had both systems running and doing any heavy graphics (gaming/streaming) the other would lose connectivity. I worked with AV Access’ support and we still couldn’t resolve the issue. I tried building dedicated vlans through the switches just for the KVM units, I setup multicast domains specific to the nodes, nothing could make it work and AV Access just kept saying things like “You seem to know networking very well, please check the guide and you will see it works.” Well, it didn’t.
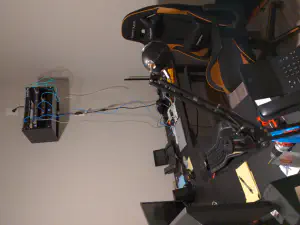
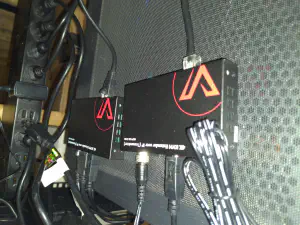
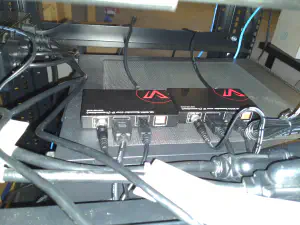
I ended up moving the server to the 2nd floor and bypassing the switches directly so the wall ports in each room goes directly to the units. If you reference back to the 2nd floor images, you’ll see the server was moved from the basement to the 2nd floor along with the KVM nodes (in this [photo][2], you’ll see the nodes on the top right). The kids are able to stream to youtube while gaming and stream netflix/plex/etc. I have their audio delivered over HDMI where they break it out to headphones/speakers. Mics are handled over USB, with only 3 ports, I use a powered splitter so they can have mic, webcam, keyboard, and mouse.
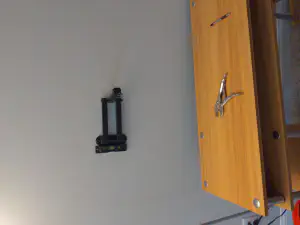
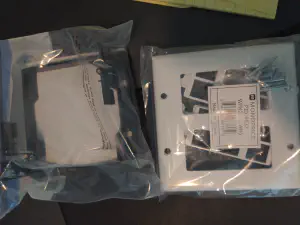
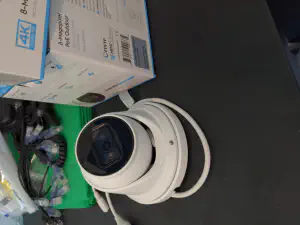
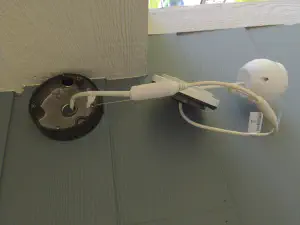
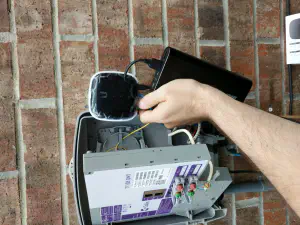
Some of you may recall (or even seen in photos above) the home security system. Here I went full DIY and .. well I’m not finished yet, but it’s still pretty nice. As usual, I started with cameras. Amcrest worked well last time, so I went with them again. For the outside, I went with Amcrest’s IP8M-T2599EW and I used my usual Amcrest IP3M-941 for the inside. To mount to the outside of the home, I used Amcrest AMCPFA130-E-B junction box because I don’t really trust Amcrest’s water proofing of the ethernet conenction, especially with POE. I wanted great external coverage, so I have one over the garage and viewing the driveway, one will eventually cover the front yard and walk way, though the doorbell does this right now (kinda…), There is one covering the back patio and back door, and finally one which covers SOME of the backyard and the egress window well. I will likely readjust this camera as I have an inside camera and window sensor monitoring the egress window now. I’ll take a moment and mention, the inside cameras have dry contacts, so these can be wired directly into security devices. My plan is to wire them into the aeotec window sensor so if it triggers OPEN the cam will PTZ to the window and we should get high quality stills along with the recorded video.
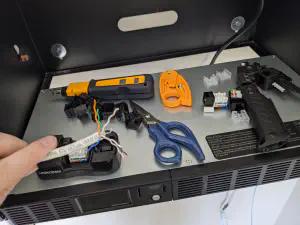
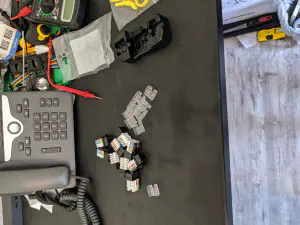
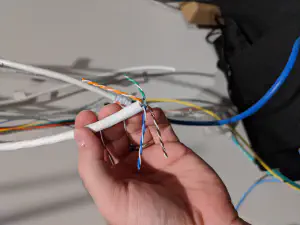
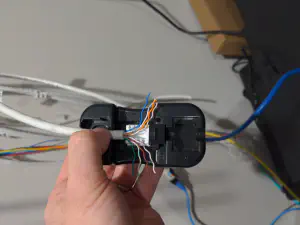
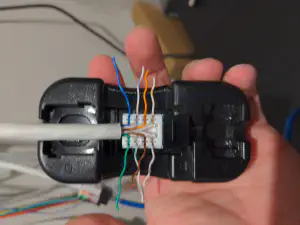
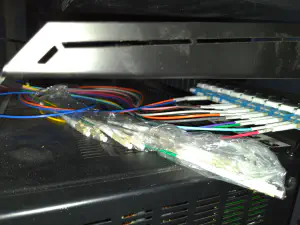
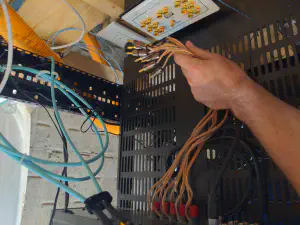
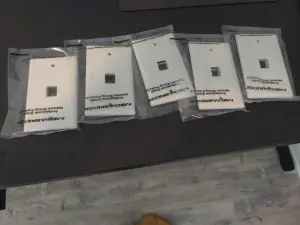
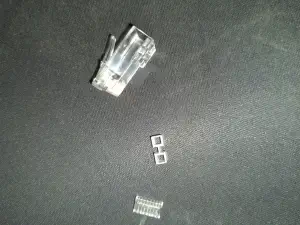
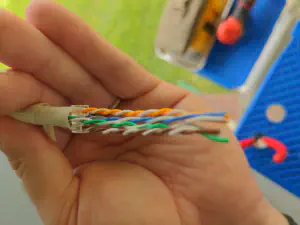
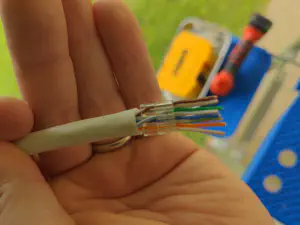
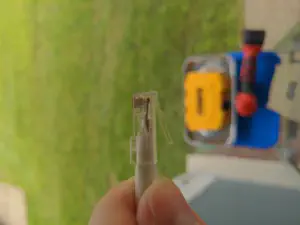
For a doorbell, I went with Amcrest’s AD110 which I’ve been pretty pleased with. With the small space in the junction box, I had to terminate the in-wall cabling, which as you can imagine, was very stiff and a total pain in the ass. I will also note a bit about cat6a termination, it sucks, if you want to maintain the actual cat6a standard, there are 3 pieces which are shown below.
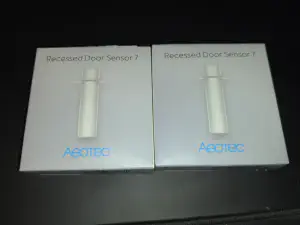
I didn’t document the in-door sensors or motion sensors very well, but I used Aeotec Recessed Door sensor 7 for all external doors, Aeotec Zwave Door Sensor Window Sensor for things like the egress and guest windows, and Samsung SmartThings GP-U999SJVLBAA Magnetic Motion Sensor to fully cover rooms and account for people breaking in through windows. This is all controlled via smart things and leverages Alexa guard since I already have alexa devices in every room. It works pretty well. I have a ton of the Samsung GP-U999SJVLCAA sensors as well and they work amazingly. I’ve got these babies pretty much anywhere water can leak with a couple side benefits, they boost my zigbee network and provide extra temperature sensors around the home.
For HVAC, I use an Ecobee4 with temperature nodes in every room. The water leak sensors and motion sensors also track temperature, so i have a nice way to compare reported temperatures in Home Assistant to determine actual temp.

To cover a couple final items, I’ll show some things I worked on. First, I wanted to use my own ONT and my installer was down to help, but due to a time constraint, we didn’t get it fully setup. He offered to come back out to enroll mine in the system assuming it works (it should) To verify it worked, I tested at my last house with the assistance of the installer.
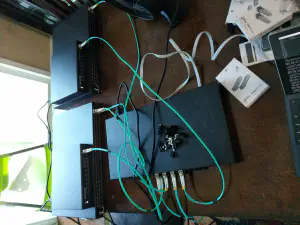
You may have noticed the cables I used on the racks, they are monoprice cat6a slims, I wouldn’t trust them outside of patch cabling, but they sure look nice.

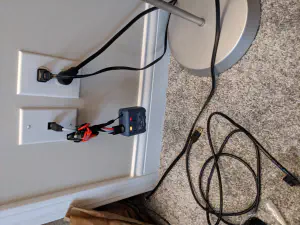
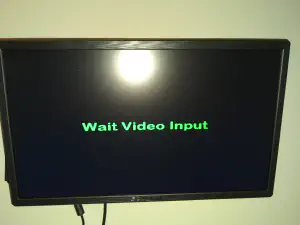
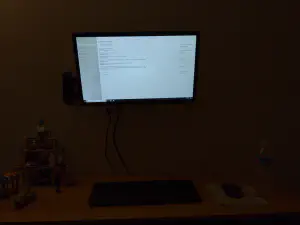
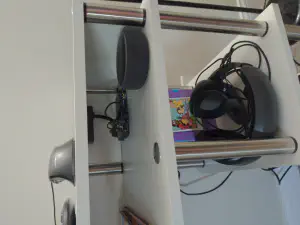
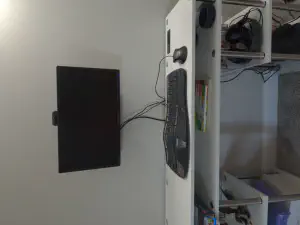
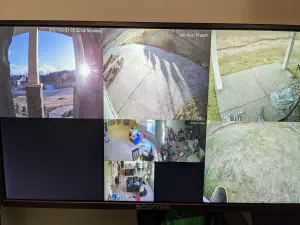
I have a couple stations around the house to monitor the multicast streams of the security cameras. I feed these into raspberrypi 3b using just the cli to display them across the screens. The PI velcros to the back of the screens quite nicely and I use POE to power it so it’s hardwired and easily powered. I have scripts that can launch from home assistant via our phones to enable sound on any of the streams. They all records 24/7 to one of the basement servers. I have 2 more cameras, 1 inside and 1 outside, to put up, but I need to drill into the brick for the final outside one and I just havent ordered the final inside one yet, so they’re incomplete.
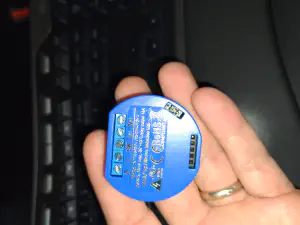
Most of the lights and switches are controlled via alexa/mqtt/hassio. Shout out to digiblurDIY for steering me this way. Thanks to him, my switches have shelly1s (flashed with tasmota) behind them so there is no loss of original functionality, only a gain of mqtt control. I also moved from HUE to lohas bulbs flashed with tasmota which are much cheaper AND much brighter. The shelly’s go in the switch box so you dont even notice the change, it’s super.
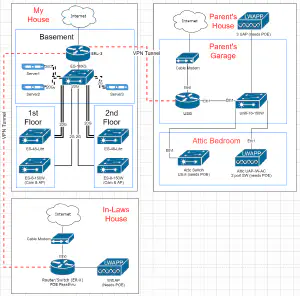
Finally, because family never stops needing help, I put Unifi USG, APs, and switches at both my parents and in-laws homes. I run the LinuxServer.io unifi controller container and control both in individual sites from my home. They have permanent ipsec/l2tp vpn tunnels back to my home. The below graphic shows an ER-x but it was replaced with a USG. This makes it easy for THEM to see statistics and TRY to control their own network while allowing me easy access to handle anything they need. It also provides them easy access to services I share with them on my servers which also include the ability to back up to my NAS.
If you stuck with me all the way to here (I really did consider making this a 2part) then congrats! It was a fun adventure and there’s a lot of stuff I didn’t properly document, but hopefully I will remember to add it all later. Suffice to say, I’m very pleased with the network performance and overall setup. I’d like to add some smartthings compatible speakers/sirens and smoke-alarms, but I’ve yet to do so. Currently, Alexa announces everything (such as X door open). I neglected to mention, but I am still using Meraki APs in the home, with my NFR discount, there’s really no reason to not use them and honestly, Ubiquiti is consistently slow with delivery of cutting-edge wifi technology and I dont like to wait.